How to Tighten a Faucet Handle: A Comprehensive Guide
Tired of that wobbly faucet handle that just won’t stay put? A loose faucet handle isn’t just annoying; it can also lead to drips, wasted water, and even damage to your plumbing. Fortunately, tightening a faucet handle is often a simple DIY task that can save you money and frustration. This comprehensive guide will walk you through everything you need to know about how to tighten a faucet handle, covering various types of faucets, potential problems, and expert tips to ensure a lasting fix. We’ll provide detailed instructions, troubleshooting advice, and preventative measures to keep your faucets in top condition. Our goal is to empower you with the knowledge and skills to tackle this common household repair with confidence. Whether you’re a seasoned DIYer or a complete beginner, this guide is your go-to resource for learning how to tighten faucet handle effectively and efficiently.
Understanding the Anatomy of a Faucet and Why Handles Loosen
Before diving into the how-to, it’s essential to understand the basic components of a faucet and why handles become loose in the first place. Faucets, despite their varied designs, generally consist of a handle, a stem (or cartridge), a valve seat, and an aerator. The handle is what you interact with to control water flow. The stem or cartridge connects the handle to the valve, which regulates the water supply. Over time, several factors can contribute to a loose faucet handle:
* **Wear and Tear:** Constant use can cause the screws, nuts, or other fasteners that hold the handle in place to loosen. This is especially common in high-traffic bathrooms or kitchens.
* **Corrosion:** Water, especially hard water, can cause corrosion on the metal components of the faucet, weakening the connections and leading to looseness.
* **Improper Installation:** If the faucet wasn’t installed correctly in the first place, the handle might not be securely attached from the beginning.
* **Vibration:** The constant vibration from water flowing through the pipes can gradually loosen the handle over time.
* **Over-Tightening:** Ironically, over-tightening the handle in the past can damage the internal components, eventually leading to a loose handle. This can strip the threads on screws or damage the cartridge.
Understanding these causes can help you not only fix the problem but also prevent it from recurring in the future. Regular maintenance, such as checking and tightening screws periodically, can significantly extend the life of your faucet and prevent loose handles.
Tools and Materials You’ll Need
Before you start, gather the necessary tools and materials. Having everything on hand will make the process smoother and more efficient. Here’s a list of essentials:
* **Screwdrivers:** A set of screwdrivers, including both Phillips head and flathead, is crucial. The size of the screwdriver will depend on the size of the screws in your faucet handle.
* **Allen Wrench Set:** Many modern faucets use Allen screws to secure the handle. An Allen wrench set will provide the different sizes you might need.
* **Adjustable Wrench:** An adjustable wrench is useful for tightening nuts and other fasteners.
* **Penetrating Oil:** If any screws or nuts are corroded or stuck, penetrating oil can help loosen them.
* **Plumber’s Grease:** Applying plumber’s grease to the threads of screws and nuts can prevent future corrosion and make them easier to tighten.
* **Clean Cloths or Rags:** These are essential for cleaning up spills and wiping away excess grease or oil.
* **Replacement Parts (Optional):** If you suspect that any parts are damaged, such as screws or cartridges, have replacements on hand.
* **Safety Glasses:** Protect your eyes from debris.
* **Gloves:** Protect your hands from dirt and sharp edges.
Having these tools readily available will ensure that you’re prepared for any challenges you might encounter while tightening your faucet handle.
Step-by-Step Guide: How to Tighten Different Types of Faucet Handles
Faucet handles come in various designs, and the tightening process can vary depending on the type. Here’s a breakdown of how to tighten the most common types:
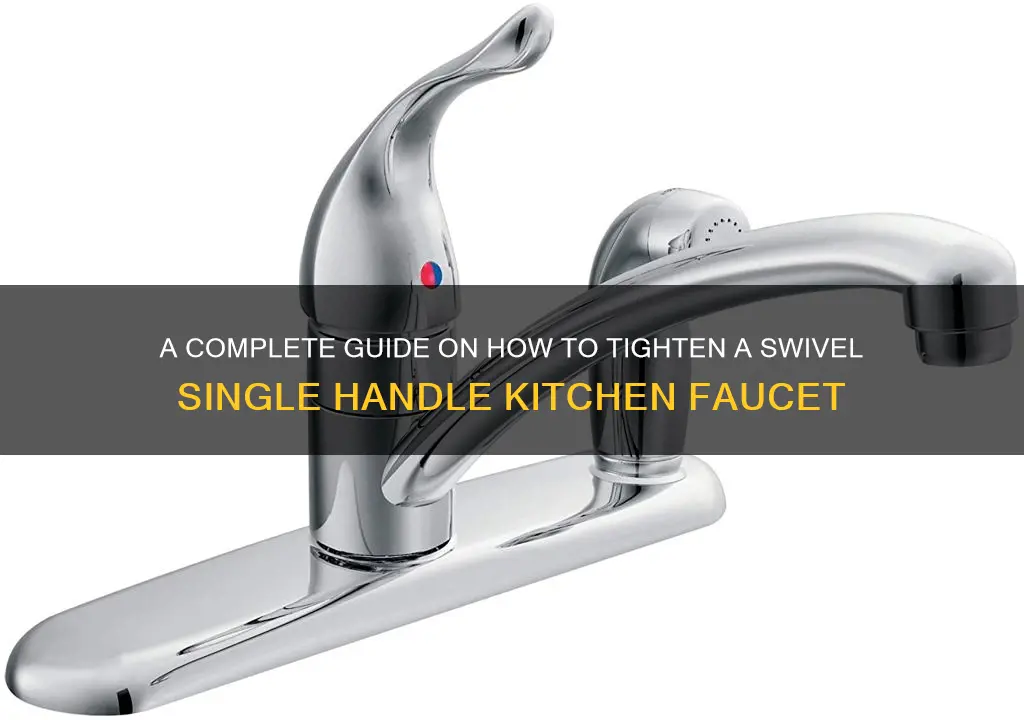
1. Single-Handle Faucets
Single-handle faucets are common in kitchens and bathrooms. They control both hot and cold water with a single lever. Here’s how to tighten the handle:
* **Locate the Set Screw:** Look for a small set screw, usually located on the side or front of the handle. It might be hidden under a decorative cap. Use a small flathead screwdriver or a knife to gently pry off the cap.
* **Tighten the Set Screw:** Once the set screw is exposed, use an Allen wrench or a screwdriver (depending on the screw type) to tighten it. Turn the wrench or screwdriver clockwise until the handle feels secure.
* **Replace the Cap:** If there was a decorative cap, replace it.
* **Test the Handle:** Move the handle to ensure it’s securely tightened and operates smoothly.
If the handle is still loose after tightening the set screw, the screw threads might be stripped, or the cartridge underneath might be damaged. In this case, you might need to replace the set screw or the entire cartridge.
2. Two-Handle Faucets
Two-handle faucets have separate handles for hot and cold water. Here’s how to tighten them:
* **Identify the Handle Type:** Two-handle faucets can have different handle designs, including those with visible screws, hidden screws under caps, or handles that screw directly onto the stem.
* **For Handles with Visible Screws:** Locate the screws on the top or side of the handle. Use a screwdriver to tighten them. Be careful not to over-tighten, as this can strip the screw threads.
* **For Handles with Hidden Screws:** Look for a decorative cap on the top of the handle. Gently pry it off with a small flathead screwdriver or a knife. Underneath, you’ll find a screw. Tighten the screw with a screwdriver and replace the cap.
* **For Handles That Screw Onto the Stem:** These handles screw directly onto the faucet stem. If the handle is loose, try tightening it by turning it clockwise. If it’s difficult to turn, use an adjustable wrench for added leverage, but be careful not to damage the handle.
If the handle continues to be loose, inspect the stem and the handle threads for damage. Replacement might be necessary.
3. Cartridge Faucets
Cartridge faucets use a cartridge to control water flow. Tightening the handle on a cartridge faucet often involves securing the cartridge itself.
* **Turn Off the Water Supply:** Before working on a cartridge faucet, turn off the water supply to prevent flooding. Locate the shut-off valves under the sink and turn them clockwise.
* **Remove the Handle:** Remove the handle by following the steps for single-handle or two-handle faucets, depending on the design.
* **Remove the Retaining Clip or Nut:** Once the handle is removed, you’ll see a retaining clip or nut holding the cartridge in place. Remove the clip or nut with pliers or an adjustable wrench.
* **Tighten or Replace the Cartridge:** If the cartridge is loose, try tightening it gently. If it’s damaged, replace it with a new one. Make sure the new cartridge is the correct type for your faucet.
* **Reassemble the Faucet:** Replace the retaining clip or nut, reattach the handle, and turn the water supply back on. Test the faucet to ensure it’s working properly.
Replacing a cartridge can often solve the problem of a loose handle, especially if the cartridge is worn or damaged.
4. Ball Faucets
Ball faucets use a ball valve to control water flow. Tightening the handle on a ball faucet usually involves adjusting the adjusting ring.
* **Turn Off the Water Supply:** As with cartridge faucets, turn off the water supply before starting.
* **Loosen the Set Screw:** Locate and loosen the set screw on the handle. This will allow you to remove the handle.
* **Remove the Handle and Cap:** Remove the handle and the decorative cap underneath.
* **Tighten the Adjusting Ring:** You’ll see an adjusting ring with two slots. Use a special tool (often included with the faucet) or needle-nose pliers to tighten the adjusting ring. This will tighten the ball valve and the handle.
* **Reassemble the Faucet:** Replace the cap and handle, tighten the set screw, and turn the water supply back on. Test the faucet.
Adjusting the adjusting ring is crucial for tightening the handle on a ball faucet. If the handle is still loose, the ball valve might be worn and need replacement.
5. Compression Faucets
Compression faucets are older types of faucets that use rubber washers to control water flow. Tightening the handle on a compression faucet often involves replacing worn washers.
* **Turn Off the Water Supply:** Turn off the water supply before starting.
* **Remove the Handle:** Remove the handle by loosening the set screw or removing the decorative cap and screw, depending on the design.
* **Disassemble the Faucet:** Use an adjustable wrench to disassemble the faucet. You’ll find a stem with a rubber washer at the end.
* **Replace the Washer:** Replace the worn rubber washer with a new one of the same size and type.
* **Reassemble the Faucet:** Reassemble the faucet, reattach the handle, and turn the water supply back on. Test the faucet.
Worn washers are a common cause of loose handles and drips in compression faucets. Replacing them can often solve both problems.
Troubleshooting Common Issues
Even with detailed instructions, you might encounter some common issues while tightening your faucet handle. Here’s how to troubleshoot them:
* **Stripped Screws:** If the screws are stripped, they won’t tighten properly. Try using a slightly larger screwdriver or Allen wrench. You can also use a toothpick or small piece of wood to fill the stripped hole and provide a better grip for the screw. If that doesn’t work, you might need to replace the screw.
* **Corroded Parts:** Corrosion can make it difficult to remove or tighten parts. Apply penetrating oil to the corroded parts and let it sit for a few minutes before trying to loosen them. Use a wire brush to remove any loose corrosion.
* **Stuck Handles:** If the handle is stuck, don’t force it. Apply penetrating oil around the base of the handle and let it sit for a few minutes. Gently rock the handle back and forth to loosen it. If it still won’t budge, use a rubber mallet to tap it gently.
* **Leaking After Tightening:** If the faucet leaks after tightening the handle, the cartridge or washers might be damaged. Disassemble the faucet and inspect the parts. Replace any damaged parts.
* **Handle Still Loose:** If the handle is still loose after tightening all the screws and nuts, the internal components might be worn or damaged. Consider replacing the entire faucet.
By addressing these common issues, you can often resolve the problem of a loose faucet handle and avoid the need for professional help.
Preventive Maintenance Tips
Preventing a loose faucet handle is often easier than fixing one. Here are some preventive maintenance tips to keep your faucets in top condition:
* **Regularly Check and Tighten Screws:** Periodically check the screws and nuts on your faucet handles and tighten them as needed. This will prevent them from loosening over time.
* **Lubricate Moving Parts:** Apply plumber’s grease to the threads of screws and nuts to prevent corrosion and make them easier to tighten.
* **Avoid Over-Tightening:** Over-tightening can damage the internal components of the faucet. Tighten screws and nuts only until they are snug.
* **Use the Right Tools:** Using the correct tools will prevent damage to the faucet. Don’t use pliers or wrenches on parts that are designed to be tightened with a screwdriver or Allen wrench.
* **Clean the Faucet Regularly:** Clean the faucet regularly to remove mineral deposits and prevent corrosion. Use a mild soap and water solution and a soft cloth.
* **Replace Worn Parts:** If you notice any signs of wear or damage, such as leaks or drips, replace the worn parts promptly. This will prevent further damage to the faucet.
By following these preventive maintenance tips, you can extend the life of your faucets and avoid the frustration of dealing with loose handles.
When to Call a Professional Plumber
While tightening a faucet handle is often a simple DIY task, there are times when it’s best to call a professional plumber. Here are some situations where professional help is recommended:
* **Extensive Corrosion:** If the faucet is heavily corroded, it might be difficult to disassemble and repair. A plumber has the tools and expertise to deal with corrosion safely and effectively.
* **Damaged Plumbing:** If you accidentally damage the plumbing while working on the faucet, such as breaking a pipe, call a plumber immediately.
* **Lack of Experience:** If you’re not comfortable working with plumbing or you’re unsure about any of the steps involved, it’s best to call a plumber.
* **Persistent Leaks:** If you’ve tried tightening the handle and replacing the worn parts, but the faucet still leaks, there might be a more serious problem that requires professional attention.
* **Complex Faucet Designs:** Some faucets have complex designs that require specialized knowledge and tools to repair. If you’re dealing with a complex faucet, it’s best to call a plumber.
Calling a professional plumber can save you time, money, and frustration in the long run. They can diagnose the problem accurately and provide a lasting solution.
Expert Q&A: Troubleshooting Your Faucet Handle Issues
Here are some insightful questions and expert answers related to faucet handle problems:
1. **Q: Why does my faucet handle keep coming loose even after I tighten the screw?**
**A:** The threads on the screw or the handle itself may be stripped. Try replacing the screw first. If that doesn’t work, you may need to replace the entire handle or faucet.
2. **Q: Can hard water affect how tight my faucet handle stays?**
**A:** Yes, hard water can cause mineral buildup and corrosion, which can loosen screws and other components over time. Regularly cleaning the faucet and using a water softener can help.
3. **Q: What’s the best way to remove a decorative cap without damaging it?**
**A:** Use a small, flathead screwdriver or a plastic putty knife. Gently pry around the edges of the cap until it comes loose. Avoid using excessive force, which can crack or break the cap.
4. **Q: How do I know if I need to replace the entire faucet instead of just tightening the handle?**
**A:** If the faucet is old, heavily corroded, or has multiple problems (leaks, drips, loose handle), it may be more cost-effective to replace the entire faucet. Also, if internal parts are no longer available, replacement is the only option.
5. **Q: What type of lubricant should I use on faucet threads and components?**
**A:** Use plumber’s grease, which is specifically designed for plumbing applications. It’s waterproof and won’t damage rubber or plastic components.
6. **Q: Is it possible to overtighten a faucet handle?**
**A:** Yes, overtightening can damage the internal components of the faucet, such as the cartridge or stem. Tighten screws and nuts only until they are snug.
7. **Q: How often should I check my faucet handles for looseness?**
**A:** Check your faucet handles at least once a year. More frequent checks may be necessary in high-use areas or if you notice any signs of looseness.
8. **Q: My faucet handle is stuck. What should I do?**
**A:** Apply penetrating oil around the base of the handle and let it sit for a few minutes. Gently rock the handle back and forth to loosen it. Avoid using excessive force, which can damage the faucet.
9. **Q: What are the signs that a faucet cartridge needs to be replaced?**
**A:** Signs of a bad cartridge include leaks, drips, difficulty controlling water temperature, and a stiff or difficult-to-turn handle.
10. **Q: Can I use regular household oil instead of penetrating oil to loosen stuck faucet parts?**
**A:** While household oil might work in a pinch, penetrating oil is specifically designed to seep into tight spaces and break down corrosion. It’s the more effective choice.
Conclusion: Mastering the Art of Tightening Faucet Handles
Tightening a faucet handle is a straightforward task that can save you from the annoyance of drips and the cost of wasted water. By understanding the different types of faucets, using the right tools, and following the steps outlined in this guide, you can confidently tackle this common household repair. Remember to prioritize safety by turning off the water supply and wearing protective gear. Regular maintenance and prompt attention to any signs of looseness can prevent more significant problems down the road. Whether you’re dealing with a single-handle, two-handle, cartridge, ball, or compression faucet, the principles remain the same: identify the problem, gather the necessary tools, and follow the appropriate steps to tighten or replace the affected parts.
Ready to put your newfound knowledge to the test? Share your experiences with how to tighten faucet handle in the comments below! Or, if you’re facing a more complex plumbing issue, contact our experts for a consultation on how to tighten faucet handle and ensure your plumbing is in top shape.
